“`html
How to Fix DRAM Light on Motherboard
The red DRAM light on your motherboard is not just an annoyance but a sign of a potential issue with your system’s memory. If you’ve noticed this glowing indicator, it’s a signal that something’s amiss. In this guide, we will explore the common causes of the red DRAM light and offer practical solutions to rectify these problems. From reseating the RAM to disabling XMP, and even replacing faulty modules, each step will be covered in order of increasing complexity. By the end of this post, you should be equipped with the knowledge to tackle DRAM-related problems head-on, ensuring your PC runs smoothly.
What Does a Red DRAM Light on Motherboard Mean?
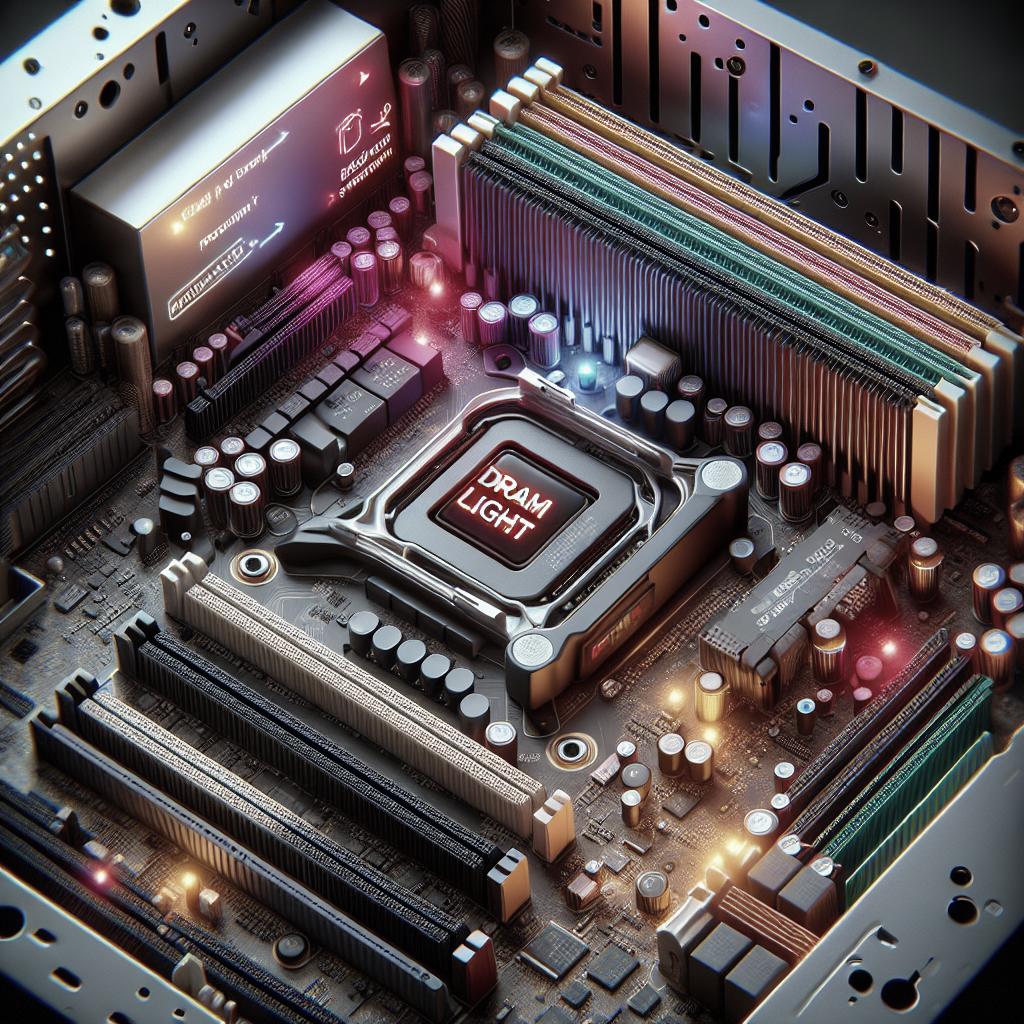
The red DRAM light on your motherboard typically signifies that the system has detected an issue with the installed memory. Motherboards are designed with diagnostic indicators, including the DRAM light, to help users identify hardware issues. When this light remains illuminated, it suggests the system is having trouble recognizing or addressing the RAM modules effectively.
Common reasons for this can range from improperly seated RAM modules to incompatible RAM sticks or even damaged DIMM slots. Such issues can prevent the computer from booting, leading to frustrating troubleshooting sessions. By understanding the underlying causes of the red DRAM light, you can systematically approach the problem with confidence.
How To Fix Red DRAM Light on Motherboard: Solutions (In Order of Difficulty)
Reinstall Your RAM
One of the simplest fixes for a red DRAM light is to reinstall your RAM. This involves turning off your PC, unplugging it from the power source, and then removing each RAM module from its slot. Afterward, carefully reseat each module, ensuring it clicks back into place, indicating a secure fit. This often resolves issues caused by loose connections.
While reinstalling, it is a good idea to inspect the RAM sticks and DIMM slots for any signs of damage or dirt that might impede connections. Cleaning these components with compressed air can also help remove any obstacles that could interfere with the proper functioning of your RAM.
Disable XMP
Extreme Memory Profile (XMP) is a feature found on many modern motherboards that allows you to automatically overclock your RAM, potentially improving performance. However, enabling XMP can sometimes lead to instability if your RAM modules or motherboard can’t handle the enhanced settings.
To disable XMP, access your BIOS settings during the startup process, typically by pressing a key such as Delete or F2. Once in the BIOS, navigate to the memory settings and disable XMP. After saving your changes and rebooting, check if the red DRAM light persists. Reverting to default memory speeds often stabilizes the system.
Mixing RAM Modules / Incompatible RAM Modules
Mixing different RAM modules or using incompatible RAM can often trigger the red DRAM light. Even if the modules physically fit into the DIMM slots, differences in speed, latency, or voltage requirements can cause conflicts that prevent the system from recognizing and utilizing memory correctly.
To rectify this issue, ensure all RAM modules are of the same brand, speed, and capacity. It’s best to use kits that are tested to work together. If a purchase of new RAM is necessary, consult your motherboard’s manual or specification sheet to determine the compatible RAM specifications.
Reset Your BIOS
If simpler steps haven’t resolved the problem, resetting your BIOS to factory defaults can sometimes solve DRAM detection issues. This process will revert all BIOS settings, including overclocking configurations and custom memory settings, back to default.
To reset your BIOS, locate the CMOS battery on your motherboard, remove it for a few minutes, and then reinsert it. Alternatively, use the BIOS menu to restore default settings under the “Exit” menu. This not only helps resolve DRAM issues but can also fix a range of other hardware detection problems.
Replace Your RAM
If none of the previous solutions rectify the red DRAM light, it’s possible that one or more of your RAM modules are faulty and need to be replaced. Before proceeding, test each RAM stick in different slots to rule out defective DIMM slots.
Once you’ve identified the faulty module or modules, replace them with new, compatible RAM. It’s often a good idea to purchase RAM from reputable brands to ensure longevity and performance. After installing the new RAM, boot the system to see if the red DRAM light is eliminated.
Parting Words
Dealing with a red DRAM light on your motherboard can initially seem daunting, but with a methodical approach, most users can resolve the issue without professional help. Understanding the potential causes and their corresponding solutions can help you restore your system to optimal performance.
Regular maintenance and careful hardware selections play crucial roles in preventing similar problems in the future. Make sure to keep components clean, perform upgrades with compatible parts, and utilize system settings wisely to maintain a healthy computing environment.
More Articles from CGDirector
If you found this guide helpful, consider exploring more of our articles on PC building, optimization tips, and comprehensive product reviews to stay ahead in the world of technology. Our library is constantly updated to keep you informed on the latest hardware trends and solutions.
Summary of Main Points
| Solution | Description |
|---|---|
| Reinstall Your RAM | Remove and reseat RAM modules to fix loose connections. |
| Disable XMP | Turn off XMP in BIOS to prevent instability due to overclocking. |
| Mixing/Incompatible RAM Modules | Ensure all RAM modules are the same type and compatibility. |
| Reset Your BIOS | Revert BIOS settings to default to fix recognition issues. |
| Replace Your RAM | Identify and replace faulty RAM modules to fix persistent issues. |
“`