“`html
Introduction: How to Clean Thermal Paste Off CPU
Thermal paste plays a crucial role in maintaining your CPU’s optimal temperature by filling microscopic gaps between your CPU and cooler. Over time, thermal paste can dry out, reducing its efficiency, and necessitating a reapplication. In this guide, we’ll walk you through the process of safely removing old thermal paste and applying a fresh layer to ensure your CPU operates smoothly. Whether you’re upgrading your CPU, replacing a cooler, or simply performing routine maintenance, these steps will help you achieve the best thermal performance for your system.
Step 1: Removing the CPU Cooler
To begin, you must first remove the CPU cooler from the motherboard. Start by shutting down your computer and unplugging all cables. Open up the case to access the motherboard, ensuring to ground yourself to avoid static discharge. Depending on your cooler type, you may need a screwdriver or may simply detach it by unclipping it from the CPU bracket. Carefully lift the cooler away from the CPU, ensuring not to apply too much force which can damage the CPU or motherboard.
Important: If your cooler uses a fan, it’s necessary to unplug the fan header from the motherboard before fully removing the cooler. This will prevent any damage to the fan header or cooler during removal. If the thermal paste feels too stiff, gently twist the cooler left and right to break the bonds formed by the paste; this method will aid in easier removal.
Step 2: Removing the CPU
Once the cooler is safely removed, it’s time to take out the CPU. Depending on your motherboard, this may involve unlatching a lever or loosening screws around the CPU socket. Handle the CPU gently and avoid touching the contact pins at the bottom where thermal paste can spread.
Carefully place the CPU on a non-conductive surface, like an anti-static mat, for cleaning. If you’re planning to proceed with replacing the thermal paste immediately, keep the CPU in close reach but protected from accidental damages.
Step 3: Cleaning the CPU
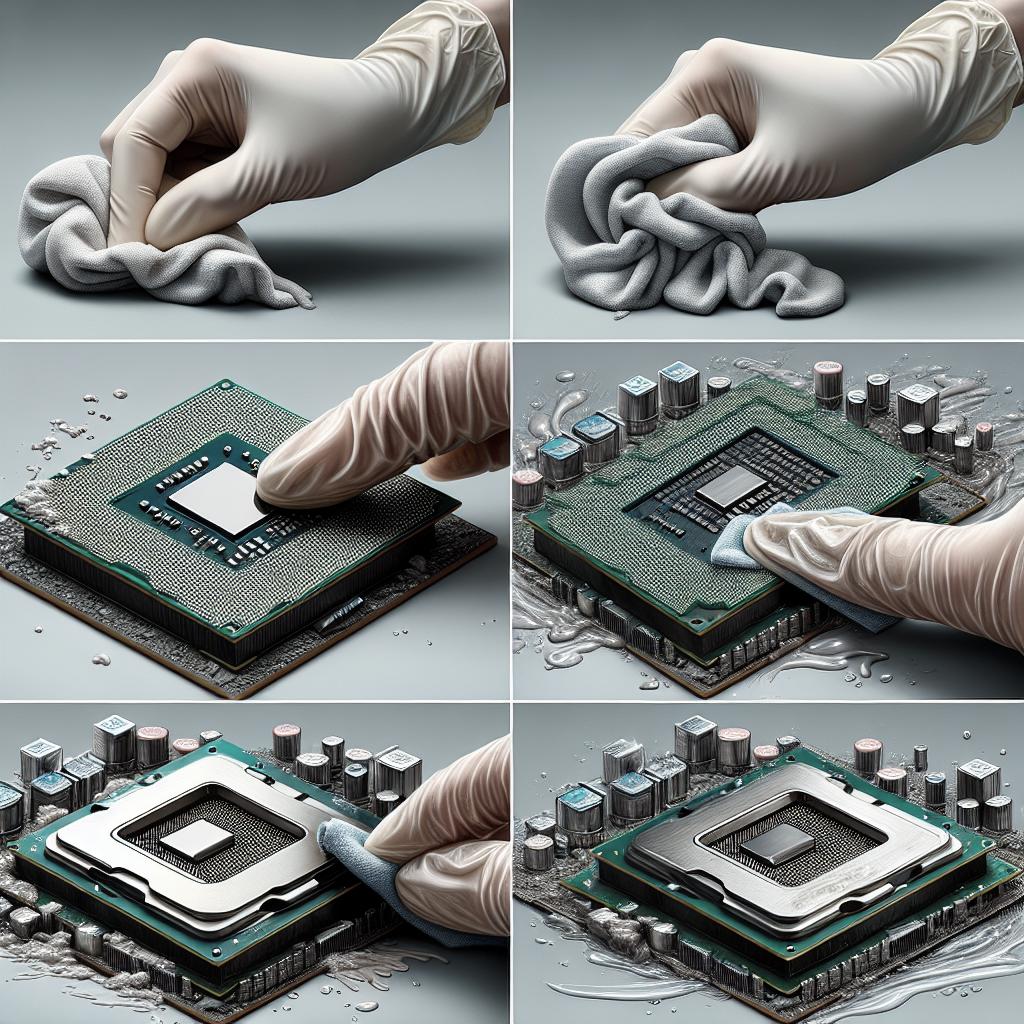
Cleaning the CPU demands precision. Use isopropyl alcohol (at least 90% concentration) and a lint-free cloth or cotton swabs. Apply a small amount of alcohol to the cloth or swab and gently wipe away the old thermal paste from the CPU surface. Avoid pressing hard to prevent damage to the CPU die beneath.
Continue cleaning until all residues are removed, and the surface is completely clean. This step is crucial because any leftover thermal paste might interfere with the new layer’s effectiveness, leading to thermal inefficiencies.
Step 4: Cleaning the CPU Cooler
Much like the CPU, the base of the CPU cooler also requires a thorough cleaning. Use the same isopropyl alcohol and a lint-free cloth method to remove any remnants of thermal paste. Ensure the surface is completely free of any old paste, which can hinder thermal conductivity when a new layer is applied.
Check the fans and crevices surrounding the cooler for dust build-up; this is an excellent opportunity to clean these areas as well. Ensuring the cooler is clean from dust will improve airflow and cooling performance.
Step 5: Applying Thermal Paste
With both the CPU and cooler clean, it’s time to apply new thermal paste. A small pea-sized amount at the center of the CPU is generally sufficient. This amount will spread evenly when pressure is applied from the cooler, covering the necessary area of the CPU without spilling over.
Be cautious not to over-apply the paste, as excess amounts can spill over the sides and potentially short different components on the motherboard. Select the thermal paste recommended for your CPU to ensure compatibility and optimal thermal conductivity.
Step 6: Installing the CPU
Carefully reposition the CPU back into its socket, aligning it properly with the designated markers on both the CPU and socket. Once aligned, gently lower the CPU into the socket and latch it securely using the lever or screws provided by your motherboard design.
Double-check that the CPU is secure and correctly positioned. A misaligned CPU can result in many unresponsive boot-up complications or even damage when power is applied.
Step 7: Installing the Cooler
Reattach the cooler to the CPU, following the removal steps in reverse. Carefully align the cooler over the CPU, ensuring to not disturb the freshly applied thermal paste. Secure the cooler using clips or screws as required by the cooler’s design.
After properly mounting the cooler, reconnect the fan cable to the appropriate header on the motherboard. This step ensures that the CPU cooler’s fan will be operational the next time your computer is turned on.
How To Replace the Thermal Paste on a CPU
Replacing thermal paste is a preventive measure that can prolong the life of your components by enhancing cooling efficiency. The key to successful replacement lies in patiently executing each step with attention to detail. Allow each component, especially the CPU, to stabilize to room temperature before beginning as well; this can ease removal and application processes.
Regular checks and planned replacements, typically every few years or as needed through performance observations, help in maintaining computer performance standards. Always ensure you choose high-quality thermal paste suited for your build.
Step 8: For More Details Please Watch the Video
If you’re more of a visual learner or wish to see the process step by step, we have a detailed video linked to complement this guide. Watching each stage performed in real-time can provide clarity and confidence in tackling this seemingly daunting task.
Follow the video for additional visual tips and safety precautions that ensure your thermal paste replacement is flawless, avoiding common pitfalls that could arise in DIY projects.
Stay On the Cutting Edge: Get the Tom’s Hardware Newsletter.
Stay informed about the latest advancements in technology by subscribing to Tom’s Hardware Newsletter. Updated with current news, reviews, and helpful tips, it’s a reliable source for maintaining your tech-savvy expertise.
Join our community and ensure that you’re equipped with the knowledge to succeed in all your technological endeavors, from simple maintenance to complex builds and modifications.
Lessons Learned
| Step | Description |
|---|---|
| Removing the CPU Cooler | Properly detach the cooler to access the CPU, ensuring all connections are safely removed. |
| Removing the CPU | Carefully remove the CPU, preventing damage to its delicate pins and components. |
| Cleaning the CPU | Use isopropyl alcohol to effectively remove old thermal paste without damaging the CPU. |
| Cleaning the CPU Cooler | Equip the cooler’s base for new thermal paste application by removing old residues. |
| Applying Thermal Paste | Apply a pea-sized amount to ensure effective thermal conductivity without excess spill. |
| Installing the CPU | Re-seat the CPU securely into its socket, ensuring correct alignment and fit. |
| Installing the Cooler | Reconnect and secure the CPU cooler, confirming the fan’s operational status. |
“`


